Hello!
This is my 2nd post, a follow up on my Bicycle 3D model I am working on. The last couple of weeks I have been unable to work on this project due to other commitments unfortunately. I have collectively worked around 8 disjointed hours of the 14 days, so as you can image not lots has be accomplished! I hope I get more free time in the coming weeks so I can show more progress, however in the meantime I will still update every two weeks and I will have something to show!
For these 2 weeks I have been optimizing the model ready to then be unwrapped and baked. I have almost completed this transition, however I have shot myself in the foot a little when I created the high poly model so optimizing is taking longer than I know it should. It's my mistake, and I know it is due to not following and updating my plan as I usually do, because this was a project after university and I spent a lot of scattered hours on it (like I still do now until I am settled with work/life). These scattered hours meant I lost the flow and I could've modeled more efficiently in some areas to save myself time now. Not to worry as I will put the extra couple of hours in to complete it and this has stressed again the importance of planning and sticking to it and updating as the project progressed.
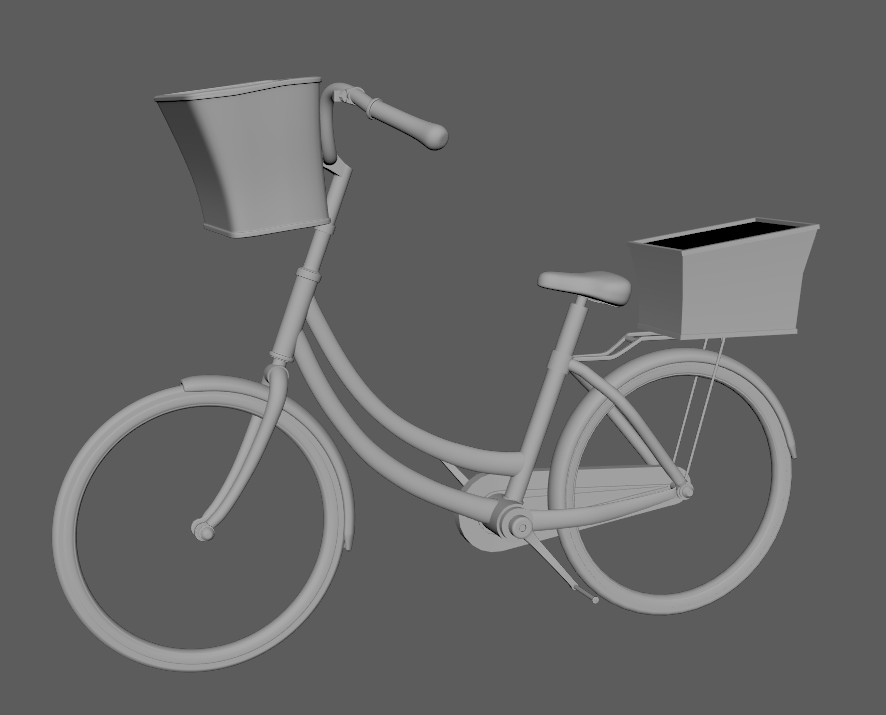
These screenshots are of the models wire frame so far. The common shapes use are cylindrical which can help me lower the poly count as smoothing edges will still make it look good, however when the edges are visible at end of a cylinder it can look really clunky. I've left a reasonable amount in as I can optimize it further at the end if I want, but I want this model to look smooth as it will be a center piece.

The basket is one sides as I plan to make a seamless wicker material and set it double sided in UE4.

Some small details I have yet to get to!

The main points I've learnt these past weeks are:
- Have a thorough plan with a rough timeline and always address this at the start of any session.
- Update that time plan as life progresses to the flow continues and the whole process is as efficient as possible.
- Small chunks of work may not flow and progress may feel stinted, but perseverance is key.
In the next post I'm positive there will be better wire frames shots of the completed low poly and I will definitely be unwrapping straight afterwards. If you have any feedback, particularly areas you think I could cut the geometry further let me know! I find creating a low poly challenging as projecting the high poly only does details so I need to keep a solid silhouette and I'm always hesitant to remove too much geometry.